How is the tolerance of automotive checking fixtures made?
How is the tolerance of automotive checking fixtures made?
As the saying goes, 'never too old to learn' means that one must constantly learn and grow on the way to life. Only by enriching oneself can one benefit others.
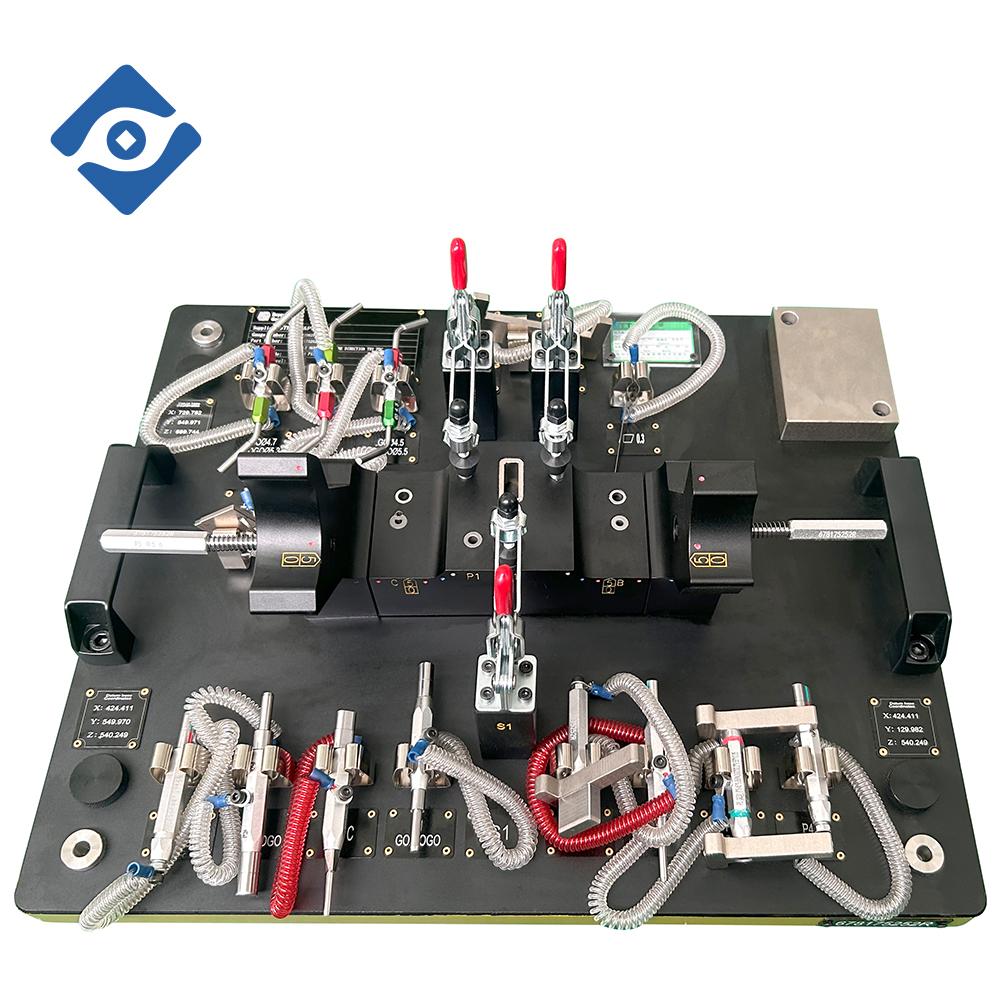
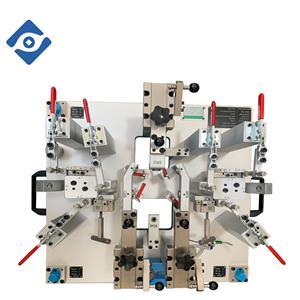
Many people have heard of the manufacturing of automotive checking fixtures, and some are not familiar with this industry. However, as someone who has been engaged in checking fixtures for many years, there is still a lot of unknown space. For example, some people do not fully understand the issue of how to make tolerances for automotive checking fixtures. This problem may seem simple, but when we delve deeper into it, there are still many areas worth exploring.
We can interpret how the tolerances of automotive checking fixtures are made. The design of automotive checking fixtures is generally based on the technical requirements of the 3D and 2D drawings of the product. The 2D drawings usually indicate the technical requirements and tolerances of the product, and the tolerances involve the shape, contour, and size of the product. When designing checking fixture parts, the specific size of the checking pin is set according to the positive and negative tolerances marked on the product drawing. For example, if the tolerance of a hole is Ø 10.00+/-0.1 GO/NOGO gauge, the size of the GO gauge is generally set to Ø 9.91, and the size of the NOGO gauge is set to Ø 10.09. The data of 0.01 in the middle is intentionally added during the design of the checking fixture, because there is also a manufacturing error in the checking pin itself. If it is a position or profile checking pin, the size of the checking pin is set based on the principle of 0 3 plus a tolerance value usually.
Usually, the size setting of the checking pin on the checking fixture will meet the one-tenth principle, and some products may not meet the one-tenth principle when the size tolerance is very small. In this case, it is necessary to design separately based on the actual application situation. There is also a situation where there is no tolerance indicated on the product drawing, so it should be done according to the general tolerance. The general tolerance can refer to the national standard GBT 1800.1-2009, and specific data can be found on Baidu.
The above statement aims to provide readers with some help in understanding how the tolerances of automotive checking fixtures are made. More technical knowledge about checking fixtures is welcome for communication and contact.
